

HexWeb Index Pro has the LinkCheck feature to assure the functionality of your Web Site. To check the links of the issue you have exported from QuarkXPress or CopyDesk with HexWeb XT, do as following:
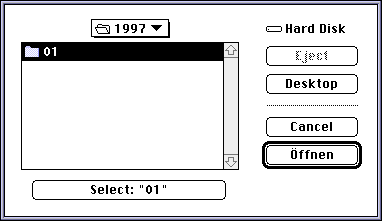
1. Open HexWeb Index Pro either from XPress or CopyDesk or with a double-click on the icon of the program. Select the issue folder, which you want to check.

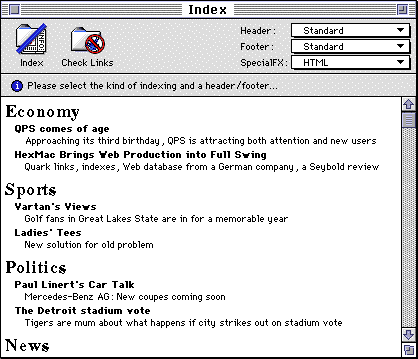
TIP: If you wish to change the Headlines or the Sub Headlines, just double-click on the article headline and the original document will be opened in a text editor. After editing the headlines, save the article, close the list and select the issue again, then you see the changed headlines!
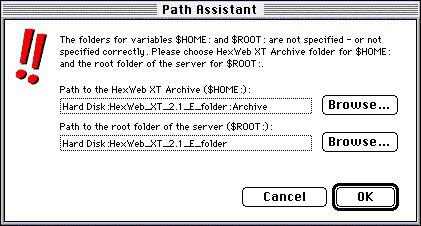
If you have not defined the $ROOT: and $HOME: directories, the Path Assistant dialog will be shown after clicking the "Check Links" button. The paths are needed to show HexWeb Index the relative location of all files. This an important setting, to be able to perform a correct LinkCheck. Click "Browse" to select the folders. $HOME: is in this example the "Archive" folder, which you already defined as MainPath for HexWeb XT in QuarkXPress.
The $ROOT: folder can be any folder above $HOME: folder. This would be the main folder on your Web Site. Select the "HexWeb XT Folder" as the $ROOT: folder in this example.
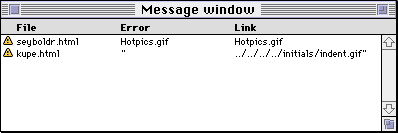
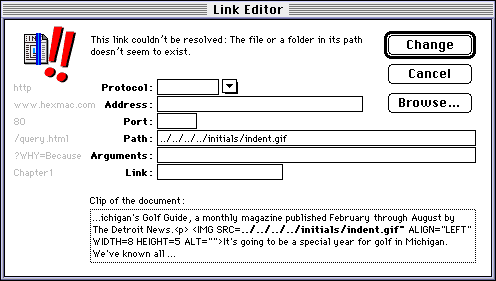
In the editor window you see the failure location in the text preview. Note that LinkCheck also notices case-differences, for example if a file is beginning with a lower case letter and the link with upper case, an error is shown.
When you have changed the path or the file name, click the "Change" button. If the link still has an error, or you made wrong correction, an alert will be shown.
HexWeb Index also notices, if you have missing quotes in the links. In this case, just click, change, and it will be corrected.
 This is a WWW Service from HexMac Software Systems